It’s always ideal to use your Raspberry Pi as a dedicated downloads server and as a NAS or “Network Attached Storage”.
Leaving your desktop or Laptop turned on for a prolonged period of time, not only is energy intensive, but also waste of resources. An average Desktop PC in a typical home or small office is likely to cost you a bill of around 15,000 Indian Rupees. (Roughly 200$).
The Raspberry Pi comes to the rescue. The new Raspberry Pi 4 costs only 35$, which is way cheaper than any laptop or a desktop and is not likely to add 0’s at the end of your electricity bills. A typical Raspberry Pi is likely to consume energy that costs less than 250 Indian Rupees yearly. Adding an external Hard Drive is pretty much not going to increase that.
Additionally, you can run the Raspberry Pi headlessly, without a monitor & without even Keyboard and Mouse. All you need is a WiFi/Ethernet connection and a USB power supply.
Sounds Good? So lets start converting your Raspberry Pi to a headless downloading machine that can download anything from the web.
Lets gather the stuff we need
1. The Raspberry Pi
We will assume that you have a Raspberry Pi (the version doesn’t really matter, but i recommend the Raspberry Pi 4B as it has a Gigabit Ethernet) running the latest version of Raspbian.
(Now renamed to Raspberry OS)


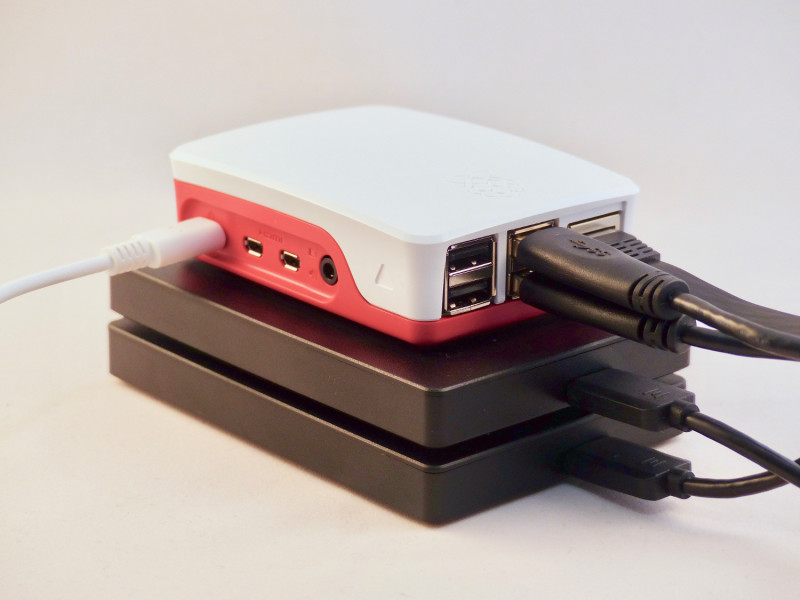
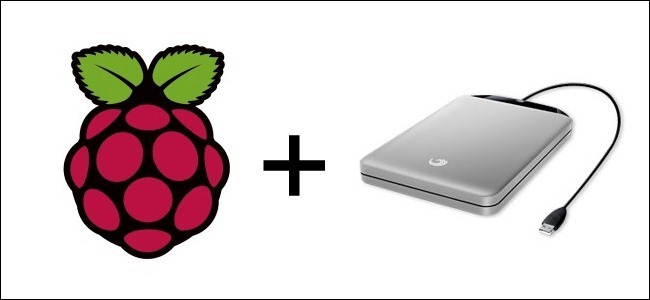
2. An External USB Drive
It’s not necessary to have an external drive, but I do recommend you to use one which is USB 3, as it has better speed and doesn’t bottle neck the transfers.
Remember that if you are running the Raspberry Pi headlessly, you need to configure SSH to access it remotely. Setting up VNC is also a good choice. If you need any information on setting up Raspberry Pi headlessly, I strongly suggest you the follow the following guides.


- Everything you need to know to setup SSH, VNC on a Raspberry Pi and run it headlessly.
- How to set up Raspberry Pi as a Network Attached Storage.
Let’s get started
Assuming that you have the Raspberry Pi up and running with an internet connection, either from the Ethernet or the WiFI, we will get started with building our Raspberry Pi downloading client and NAS.
Step 1: Update & Upgrade
Before we start with the actual setup, take a moment to update and upgrade your Raspberry Pi to the latest version available. Open a terminal window and run the commands one after the other.
sudo apt update
sudo apt upgrade -y
Step 2: The prerequisites
Once that is done, its time to begin the installing the required software components for this project.
- We will be using Transmission as our torrent downloading client. And
Aria2 as our non-torrent downloading client.
But the directory in which the downloads are saved, can be the same for both or different based on your preference. - For the NAS part, i recommend SAMBA. It is a free implementation of the SMB networking – the one used on windows. SFTP is also a very good choice, but SAMBA is windows ready.
Run the command below one by one in a terminal window to install all the required components.
sudo apt install samba samba-common-bin transmission-daemon aria2We will also need the Apache http server installed on the Raspberry Pi for the Aria2 web interface. Run the following command to install Apache2 with php support.
sudo apt install apache2 phpStep 3: Create the download directories
We need some place where all of our downloads will be stored. And the same will be later accessed remotely from the NAS over the network. We will create the download directories in the home directory of the default user pi.
Run the following commands one by one in the terminal to create download directories, change ownership and to grant proper read-write permissions.
cd
mkdir Downloads
sudo chown -R pi: Downloads
sudo chmod -R 775 Downloads
The Download directory is now configured so that everyone can read and the root and logged in users can read and write.
Step 4: Edit the configuration files
Now that we are done with installing all the prerequisites, and creating the shared directories, we need to edit the configuration files for Transmission and SAMBA. But, any configuration file that we edit will be over written by the application while they are running in the background.
Run the following commands to terminate the downloading client’s and the SAMBA server’s background processes.
sudo service transmission-daemon stop
sudo service smbd stop
Firstly, we will edit the settings.json file.It is Transmission, our torrent downloading client’s configuration file. The file is located in the /etc/transmission-daemon directory.
sudo nano sudo nano /etc/transmission-daemon/settings.jsonWithin this file, we will modify the following configuration options.
"download-dir": "/home/pi/Downloads",Change Your_Password with the one you will be using to login to the client
"rpc-password": "Your_Password",Next, we change the username we want to use to connect to Transmission. The default will be “transmission”
"rpc-username": "Your_Username",Whitelisting your local IPs should do that job if you are planning to use the downloading client from your local network, which in most cases starts from 192.168… Change the IP accordingly. *.*.*.* allows all IP addresses to access the client which is not recommended unless you know what you are doing.
"rpc-whitelist": "192.168.*.*",Next we need to edit the SAMBA configuration file – smb.cong, located at /etc/samba/. I suggest you to go through the configuration file once as we will be creating a new configuration file and the default one will no longer be needed.
You can rename or delete the existing the configuration file. I prefer renaming as you have the original file to restore, in case something goes wrong. Run the following commands to rename the existing file and to create a new one using nano.
sudo mv smb.conf smb.conf.old
sudo nano smb.conf
Now copy the following lines of code to the new file.
[homes]
   comment = Downloads Shared Folder
   browseable = yes
   path = /home/pi/Downloads
   read only = no
   create mask = 0775
   directory mask = 0775
   public = yes
Save the modified file using Ctrl+X , y then Enter.
And
that should complete the configuration.
Step 5: Start transmission and SAMBA & Aria2.
Now that we have completed editing the configuration files. We can safely start Transmission Daemon and SAMBA server.
Run the following commands to start transmission and SAMBA. And also run Aria2 – our non-torrent downloading client in background.
sudo service smbd start
sudo service transmission-daemon start
sudo nohup aria2c --enable-rpc --rpc-listen-all &
Step 6: Setting up Aria2 Web UI
Next we need to navigate to the http server’s root directory and download the files from GitHub for Aria2.
Run the following commands in a terminal window.
cd /var/www/html
git clone https://github.com/ziahamza/webui-aria2.git
sudo mv webui-aria2/docs/* .
And that’s all you have to do.
Accessing the Interfaces
The Transmission’s Web UI can be accessed on the port 9091 on the IP address of your Raspberry Pi. Where as the Aria2 Web UI can be accessed
on post 80, the default http port.
Open your web browser connected to your local network and enter the ip address of your Raspberry Pi. For
example: 192.168.x.x. This should open the Aria2 WebUI exactly like the picture below.
Aria2 Web Interface

You can add downloads from the add button, you can also pause and resume most of the downloads. You can also add torrents in the Aria2 download client. Yes you can download torrents in Aria2, but transmission is a better torrent client, Why? Check out the FAQ Section.
Now to access the Transmission WebUI you need to enter the ip address of the Raspberry Pi followed by a semicolon and the transmission RPC port which defaults to 9091. eg: 192.168.x.x:9091.
You should be getting a login prompt asking your Transmission User ID and password. Enter the user id and password you entered in the Transmission configuration file.


Now that you have your downloading clients ready, just go on and download something into the shared folder. And then access them on the SAMBA share. You can readily access them on your Windows PC (of course you have to have network discovery and file sharing turned on), and linux. For accessing it on android, you can use some file manager application which supports SMB. Like the ES File Explorer.
Accessing the SAMBA share
1. Accessing the SAMBA Share on Windows and Linux
Accessing the SAMBA share on windows is fairly simple. Open run and type \\ipAddressOfRaspberryPi, just like in the image shows below.

On Linux, Open your File Explorer and you should have it in the network section.
2. Accessing the SAMBA Share on Android
Download the ES File Explorer and install the application. Then go on to the LAN section in the Menu, your Raspberry Pi should show up in the application. If not you can always manually add it, all you need to know is the Raspberry Pi’s IP address.

3. Accessing the SAMBA Share on iOS
You need to install an application called as Document from the App Store and add the SMB Share in it.

Conclusion
There are other Torrent clients that you might want to investigate installing if you decide you do not like Transmission. The range is pretty limited for the Raspberry Pi but be sure to check them out.
At this point you should now have successfully setup the Transmission torrent client, Aria2 download client, and setup SAMBA on the Raspberry Pi. If you run into any issues, feel free to drop a comment below.😀