OK, so how do I setup Blynk to control my lightings?
It’s pretty simple. You can use any mobile with with the Blynk app installed, and a micro controller that supports network communication. One that can send and receive data packets. For starters, a NodeMCU, ESP8266, ESP32 could be used. Here is a complete list of hardware that support Blynk. Just go, buy one.
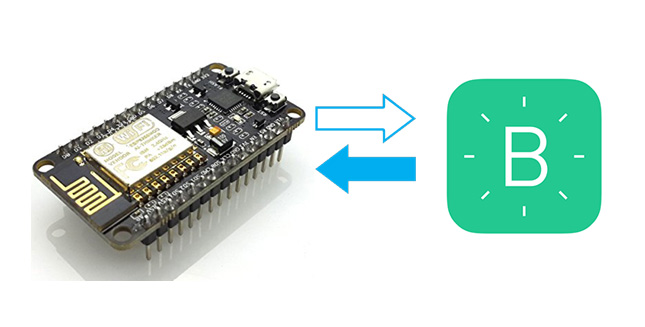
You got the hardware?
Good, now flash it with the sample code provided from the Blynk, or if you are using a Raspberry Pi, just run the Python code. Or follow the steps below.
Get started in 5 minutes
-
Download the Blynk App
Blynk app for iOS and Android is the easiest way to build your own mobile app that work with the hardware of your choice.
No iOS or Android coding required -
Install Blynk Library
Blynk Library is an extension that runs on top of your hardware application. It handles all the connection routines and data exchange between your hardware, Blynk Cloud, and your app project.
-
Connect hardware
To get your hardware online and connect it to Blynk Cloud, you would need a device Authentication Token.
Once you download the app you will be able to generate Auth Token for every device. -
Enjoy Playing with it
After your hardware is connected spend some time learning Blynk basics. It will help you to easily build new projects or integrate Blynk into your existing project.
There are a lot of examples and tutorials to get you started.
Follow the video tutorial to get started.
Fun fact: You can also make your own Blynk server instead of using the default Blynk server by following the tutorial.
Feel free to share and comment.👍